Enabling APIs
To get started with setting up a CI/CD pipeline using Google Cloud Build and GitHub, the first step is to enable the necessary APIs in your Google Cloud Console. Specifically, you need to enable the Cloud Build API and the Cloud Run API. This can be done easily by navigating to the APIs & Services section in the Google Cloud Console and enabling the respective APIs.
Connecting GitHub Repository
Once the APIs are enabled, the next step is to connect your GitHub repository to Google Cloud Build. To do this, navigate to the Cloud Build dashboard in the Google Cloud Console. From there, go to the “Triggers” section and click on “Connect Repository”. Choose GitHub as the source and authenticate with your GitHub account. After authentication, select the repository you want to connect to Google Cloud Build.
Creating Build Trigger
After successfully connecting your GitHub repository, you need to create a build trigger. A build trigger defines the conditions under which a build should be triggered, such as when changes are pushed to a specific branch or tag. To create a build trigger, specify the branch or tag that should trigger the build and define the build configuration. The build configuration can be defined using a cloudbuild.yaml file in your repository. This file specifies the steps that should be performed during the build process.
Here’s a sample cloudbuild.yaml file that builds a Docker image and deploys it to Cloud Run:
steps:
- name: 'gcr.io/cloud-builders/docker'
  args: ['build', '-t', 'gcr.io/$PROJECT_ID/my-image', '.']
- name: 'gcr.io/cloud-builders/gcloud'
  args: ['run', 'deploy', 'my-service', '--image', 'gcr.io/$PROJECT_ID/my-image', '--platform', 'managed']
Make sure to customize this file according to your project’s specific needs, such as the image name, service name, and any additional build steps required.
Granting Permissions to Cloud Build Service Account
Finally, in order for Cloud Build to have the necessary permissions to access and deploy the service to Cloud Run, you need to grant the Cloud Build service account the “Cloud Run Admin” role. This role provides the necessary permissions for the build process to deploy the service to Cloud Run successfully.
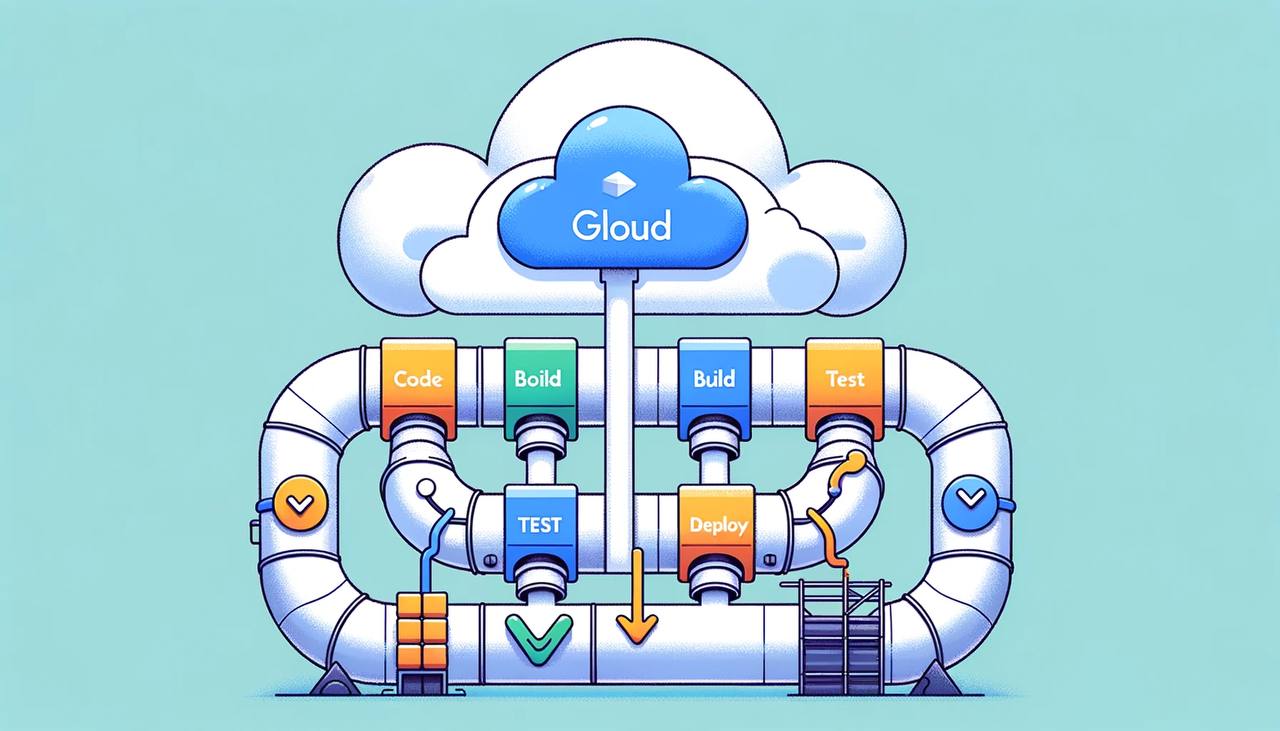
By following these steps, you can set up a CI/CD pipeline with Google Cloud Build and GitHub, automating the build and deployment process whenever changes are pushed to your GitHub repository. This ensures a seamless and efficient development workflow, allowing you to focus on writing code and delivering your application quickly and reliably.


